Packing a bike with rim brakes is straightforward. Disc brakes need a little more thought, but it's very manageable once you know what to look out for.

Most customers leave them on but if you're worried, remove the rotors. It takes seconds with the right tools and removes all of the considerations below. See our [disc brake removal guide] if you want to go this route. If you'd rather leave the rotors in place, read on...
Packing the wheels

Every cyclist who's shared their experience with us has packed their disc wheels into the lid in exactly the same way as non-disc wheels - rotors facing inward into the box. This is also what we do with our own bikes.
‍
Two things to watch...
‍Front disc / rear tyre contact
- With tyres fully deflated there's no pressure and no risk of damage. Add a bit of cloth or bubble wrap in the gap if you want peace of mind.
‍Front tyre / cassette contact
- Same principle. Deflated tyres won't push into the cassette.
Thru axle note...
Remove the thru axle cylinder and use a shorter quick release skewer for the front wheel. A longer skewer will protrude through the lid, which can cause problems in transit.
‍

Disc rotors are fastened with either a six-bolt interface or a lock ring. Most modern road bikes use a lock ring - either with external notches (common with thru axles) or an internal spine (common with quick release skewers). Some bikes use both.

For a thorough walkthrough, watch this [Park Tools video].
A note before you start...

Wear protective gloves — contaminating the disc surface will affect braking performance. Other than that, it's as simple as unscrewing a bolt. If you choose not to use a torque wrench when re-fitting, make sure the rotor is very firmly secured.
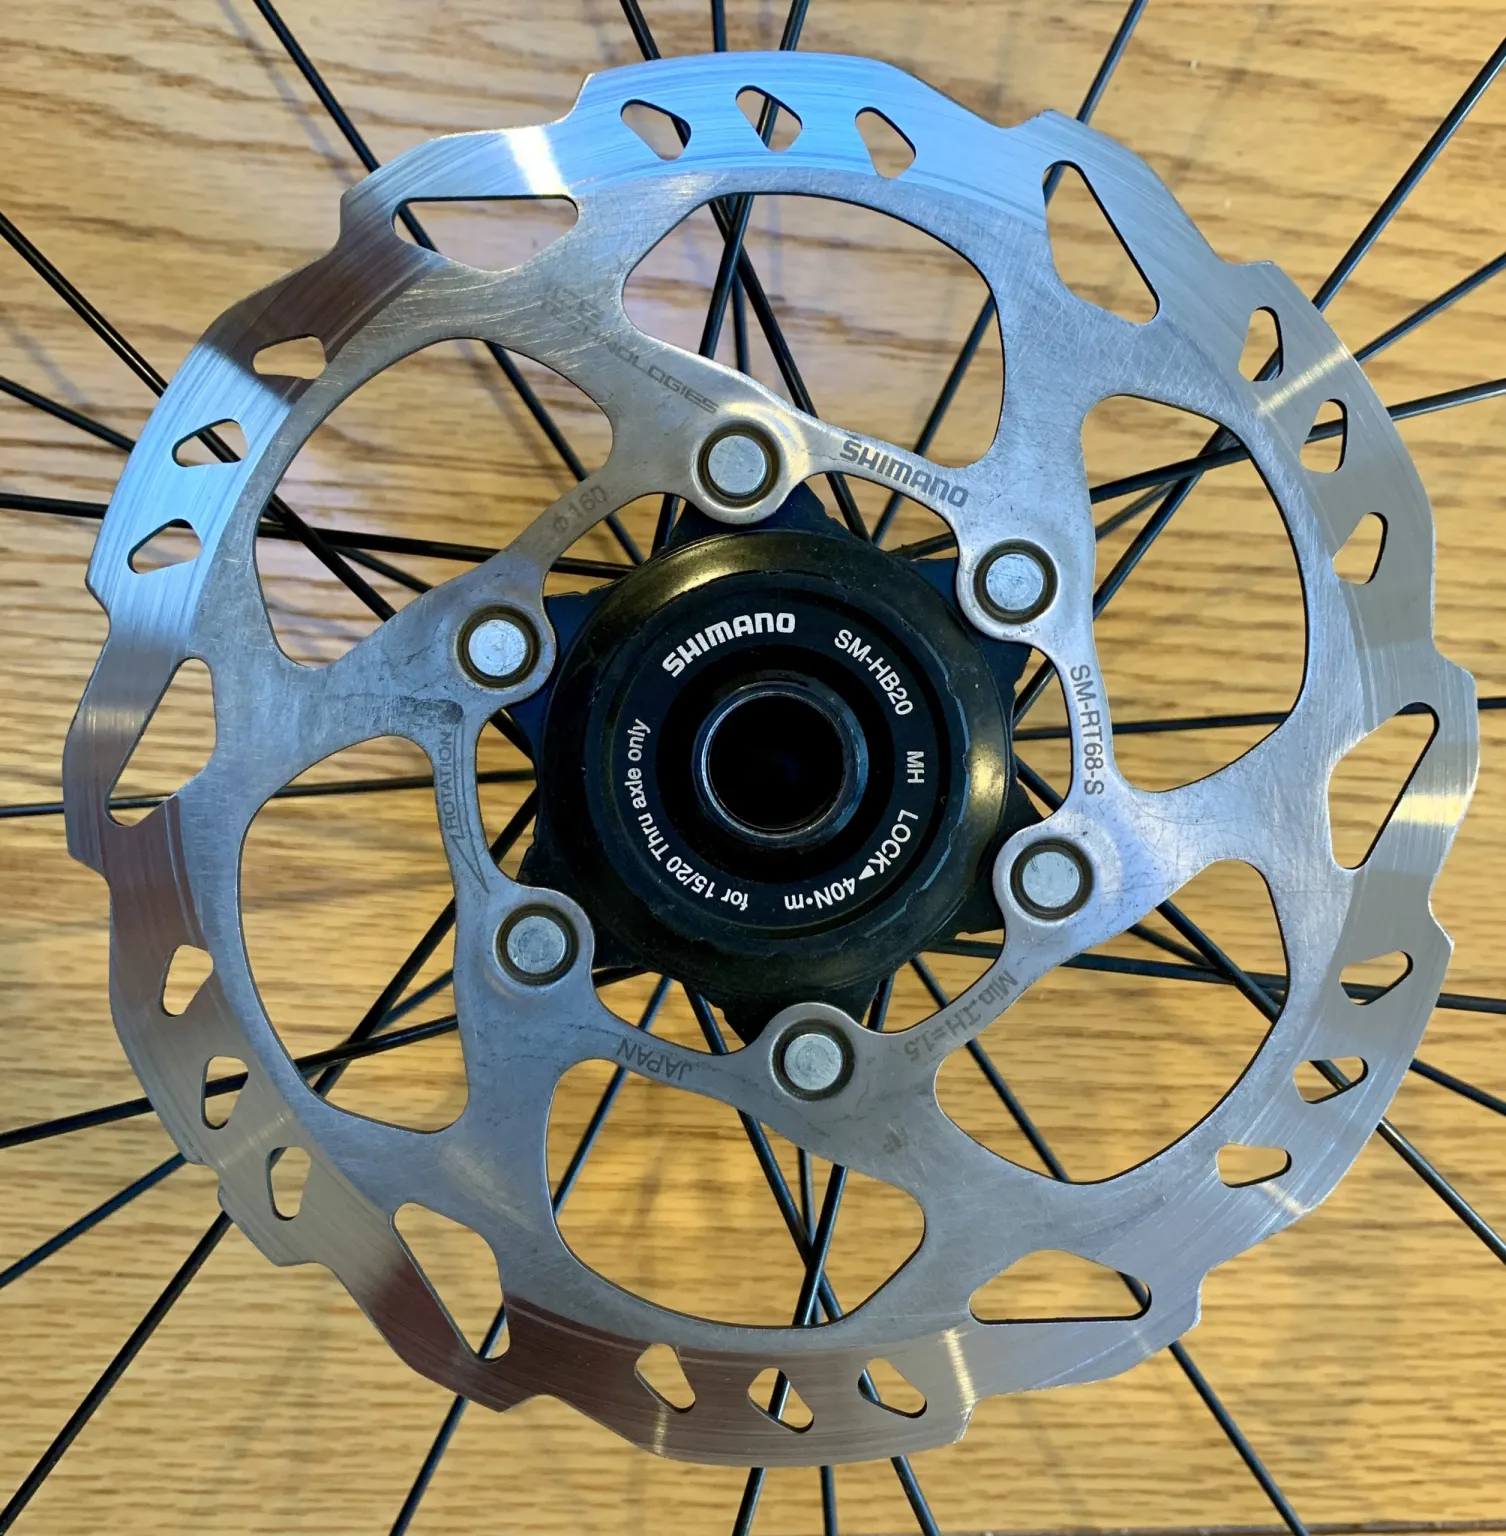
Close-up of a Shimano bicycle disc brake rotor attached to a wheel with black spokes and a wooden surface background.
Centre Lock Ring

External Notch

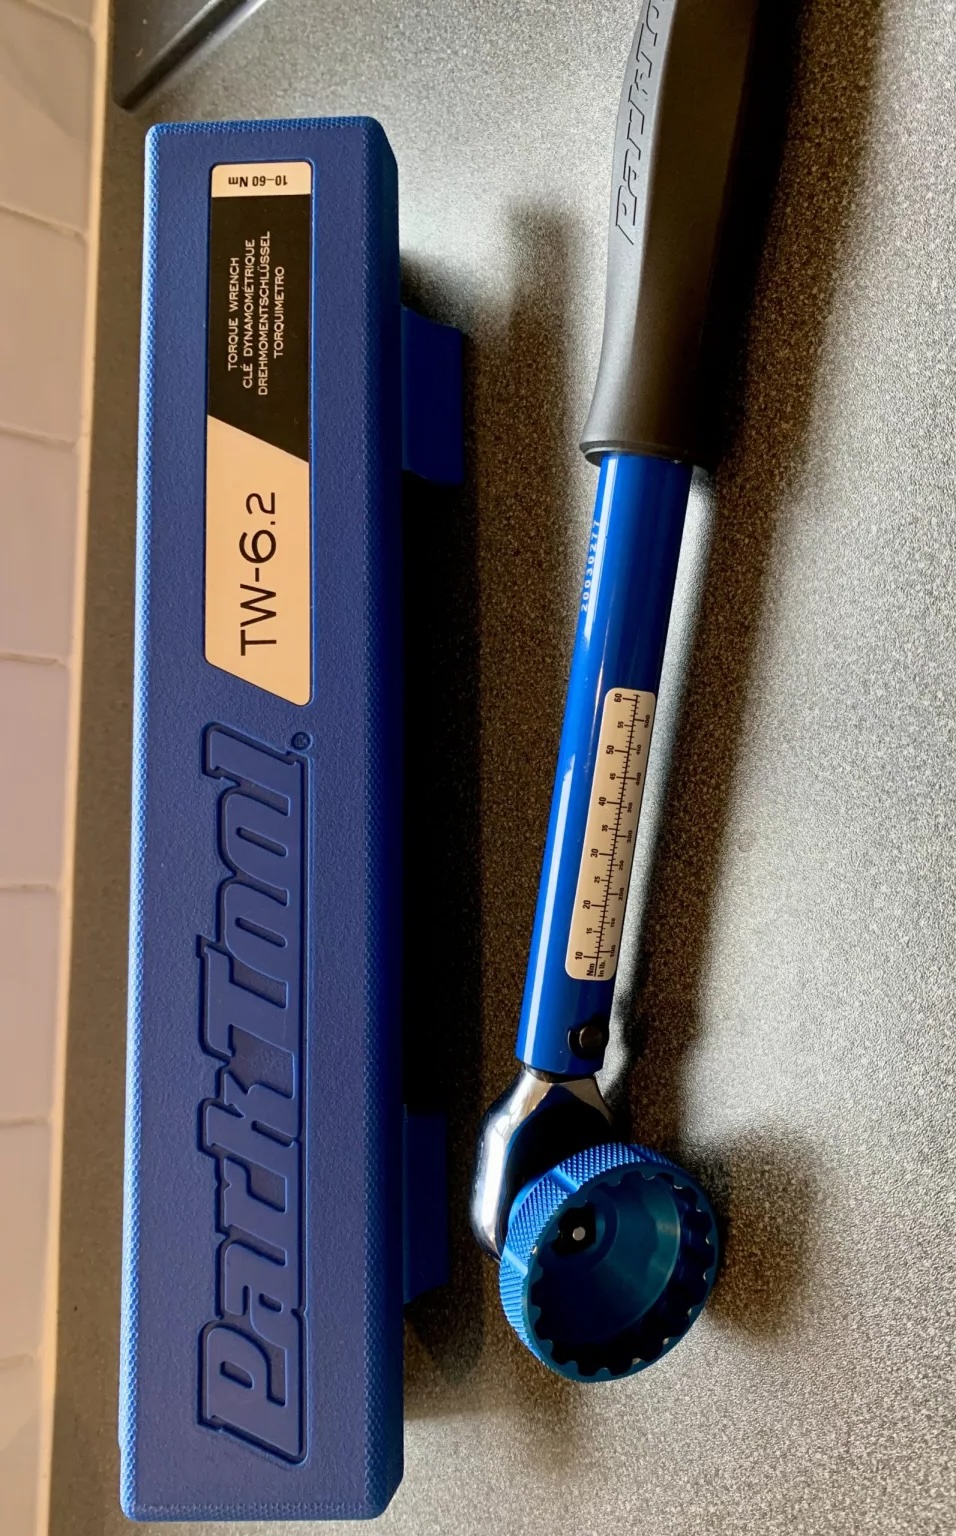
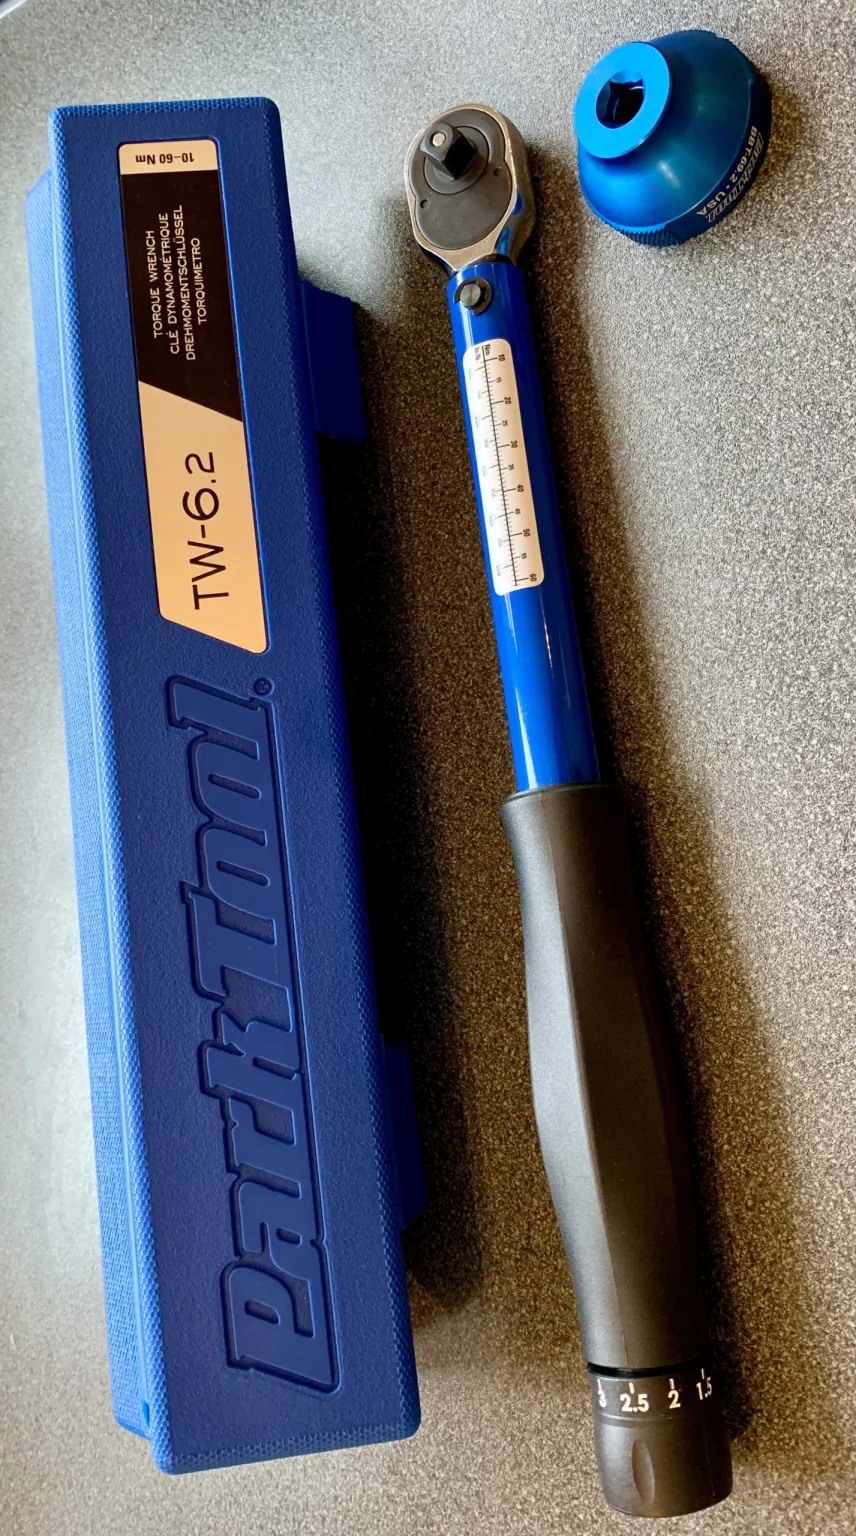
Blue ParkTool TW-6.2 torque wrench with black handle and attached dial, next to a matching blue plastic carrying case and a blue socket adapter on a gray surface.
Tools Needed:

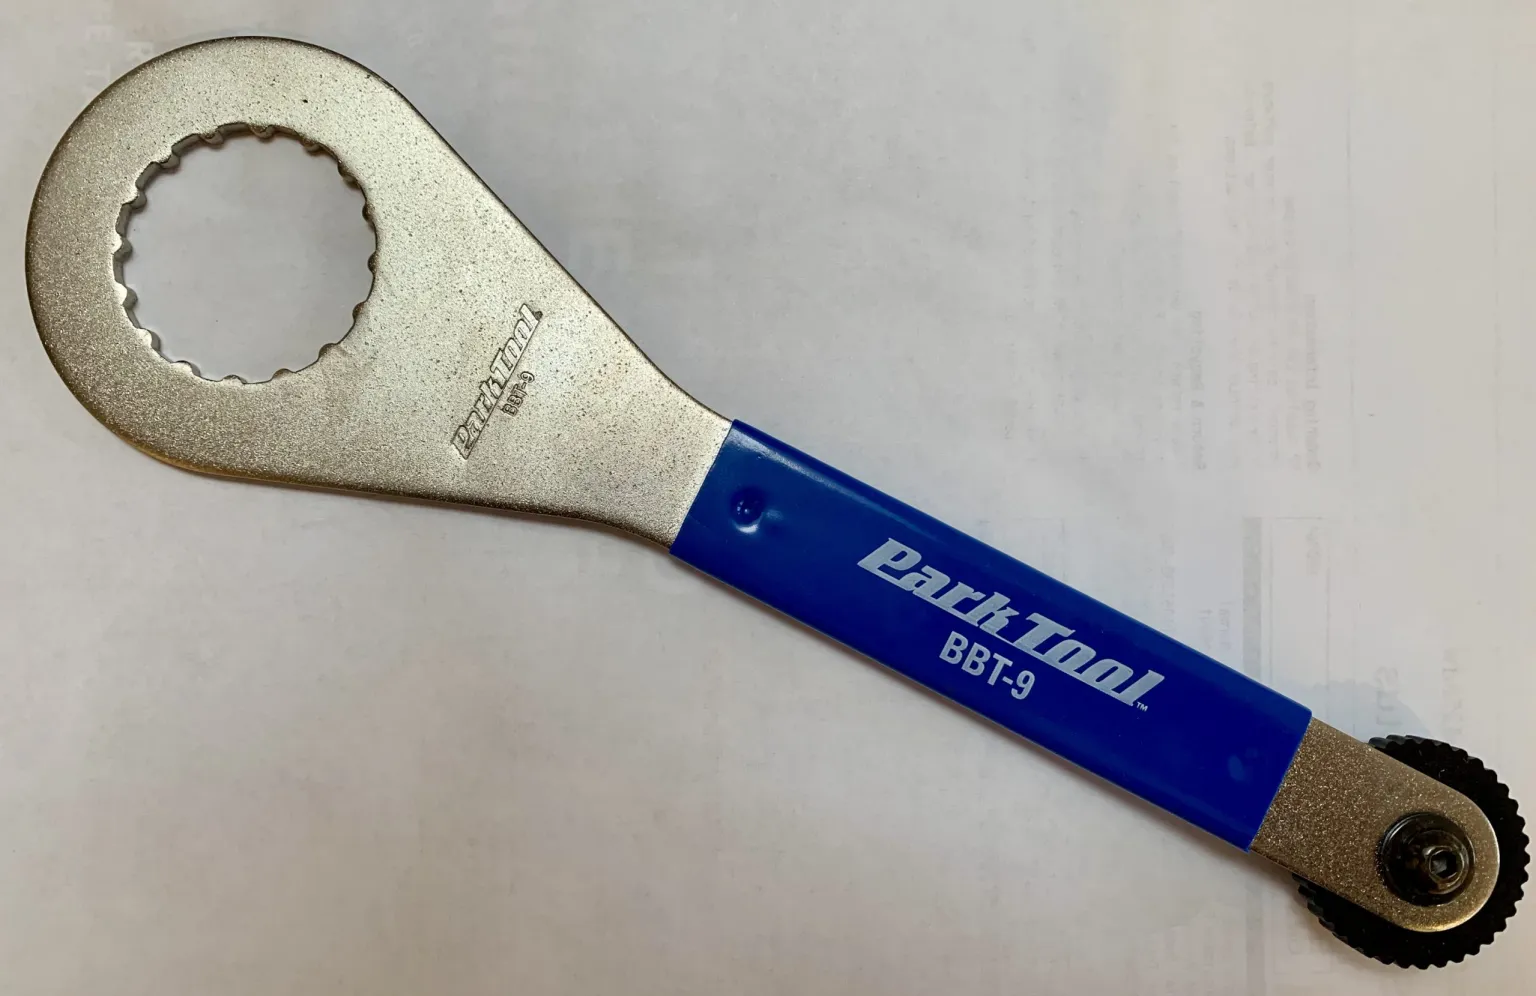
Torque wrench + 44mm bottom bracket tool (e.g. Park Tool TW-6.2 + BBT-69.2, or BBT-9)

Blue Park Tool torque wrench (model TW-6.2) with measuring scale on handle and textured grip, placed next to its blue case on a gray surface.

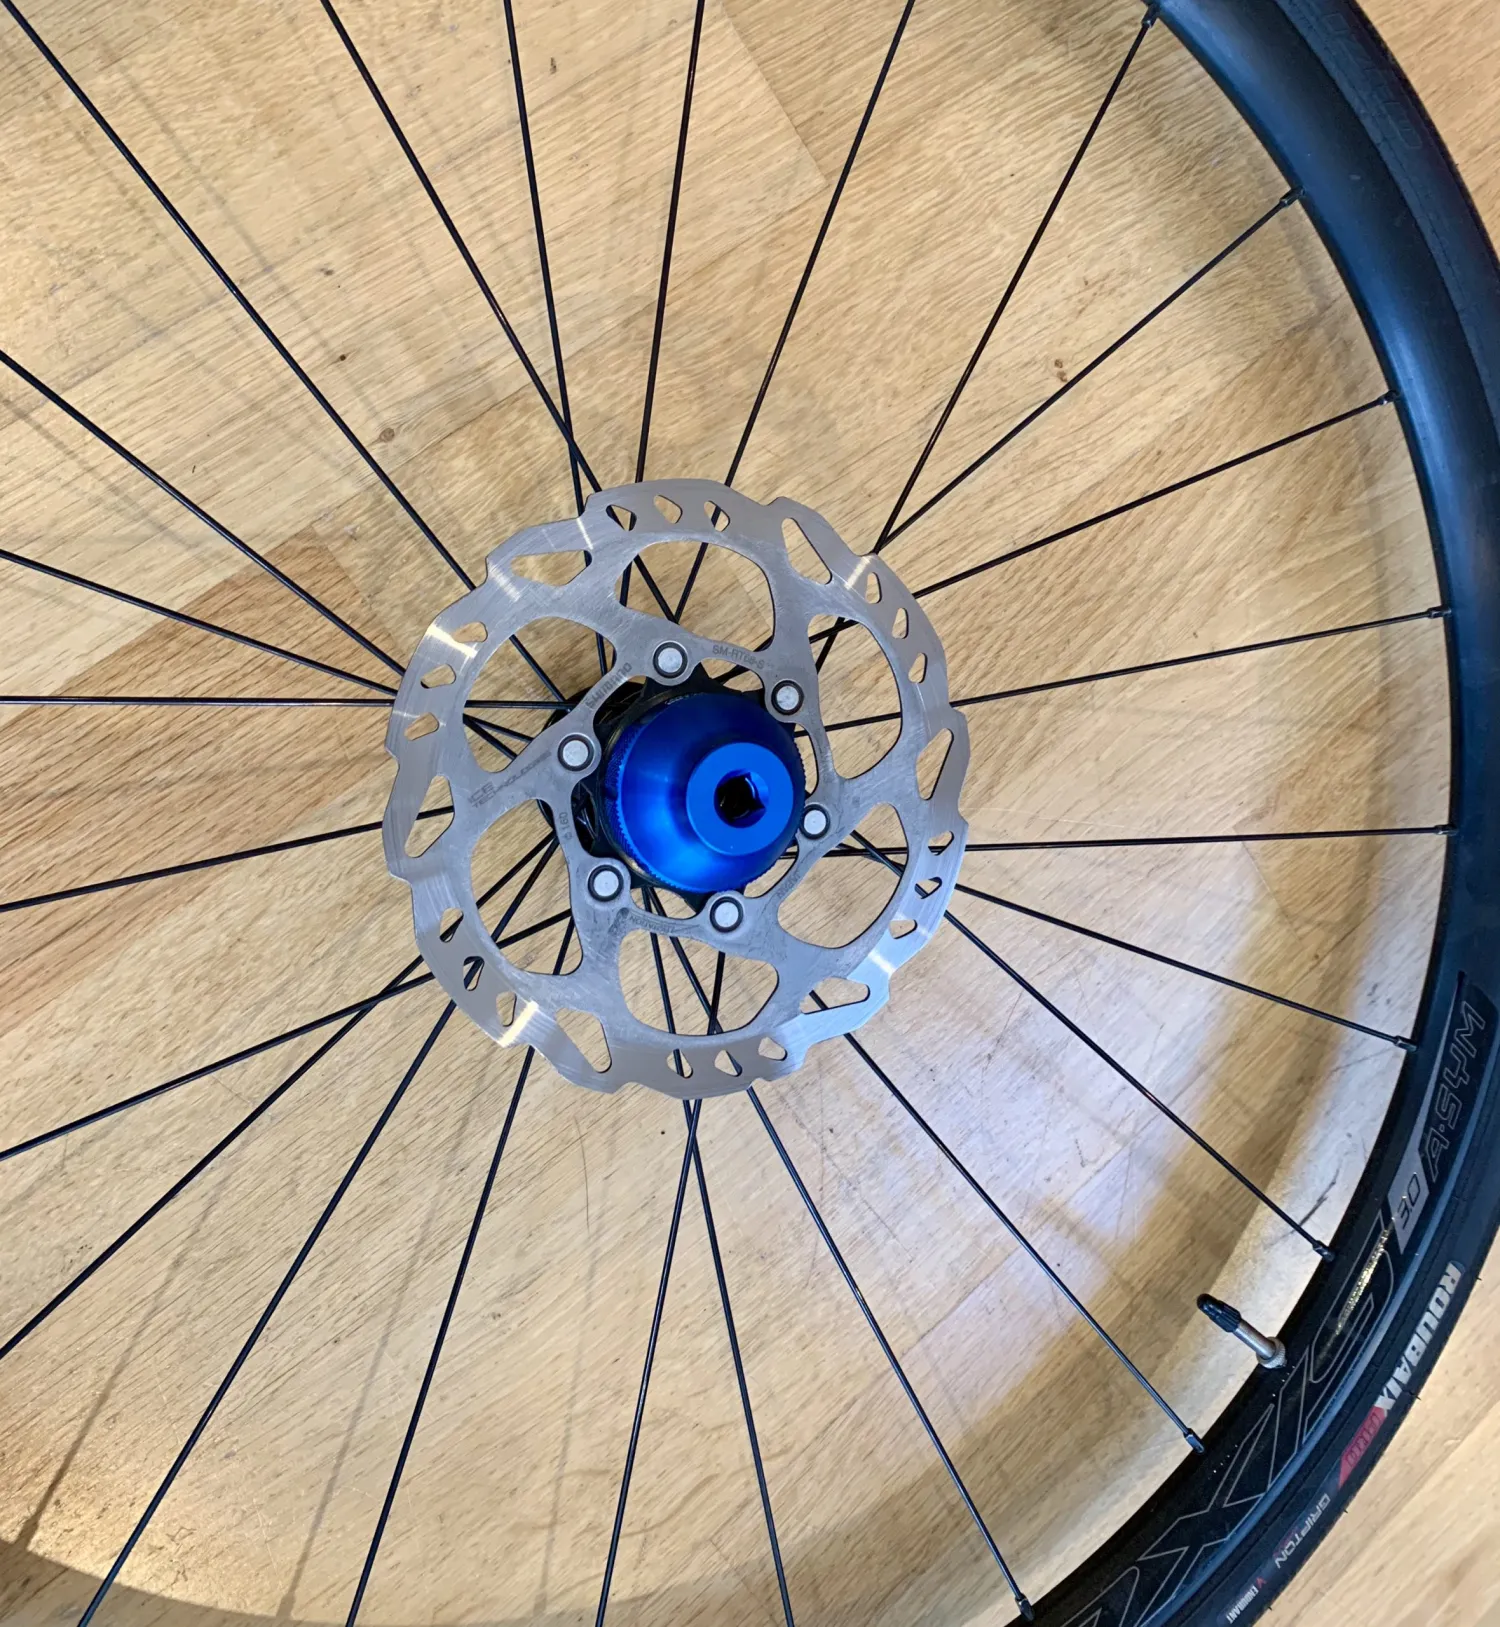
Attach the bottom bracket tool to the torque wrench and unscrew the lock ring.

Close-up of a bicycle wheel with black spokes, a silver disc brake rotor, and a blue hub on a wooden floor.

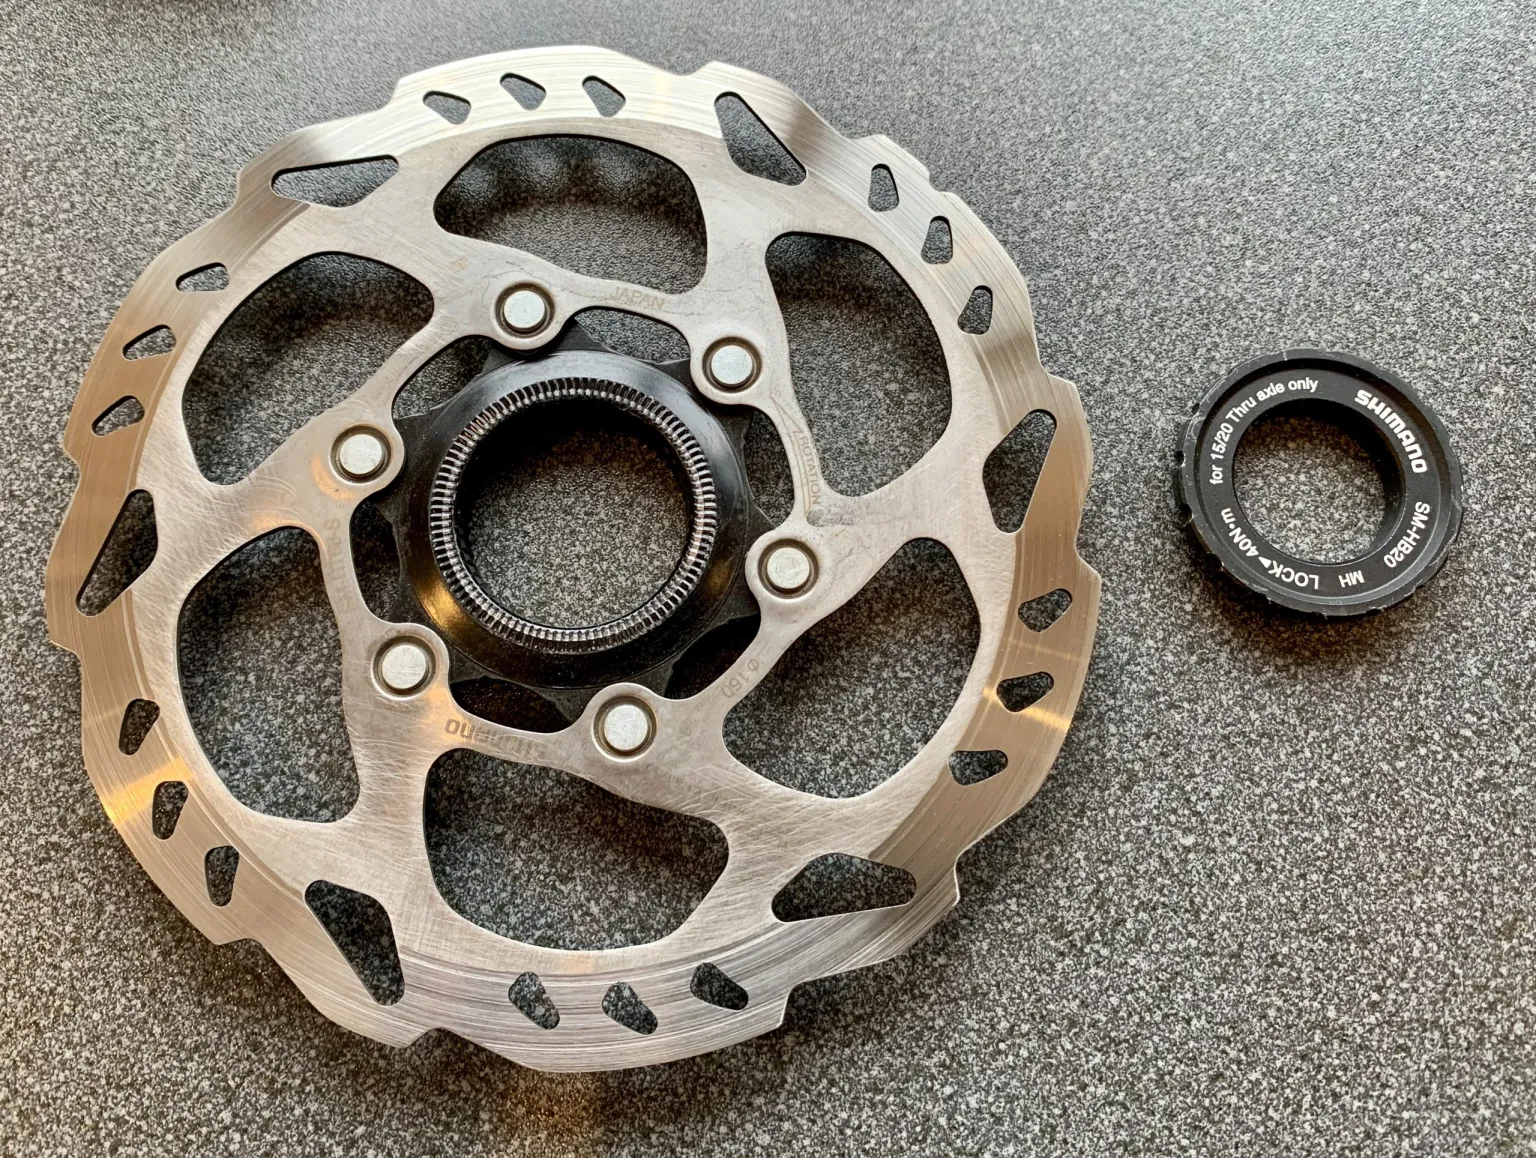
When refitting, torque to 40Nm.

Two bicycle disc brake components on a gray speckled surface, including a silver metal rotor with a five-arm black center and a black Shimano lock ring labeled for 15/20 Thru axle only.

Include the torque wrench in your travel kit.

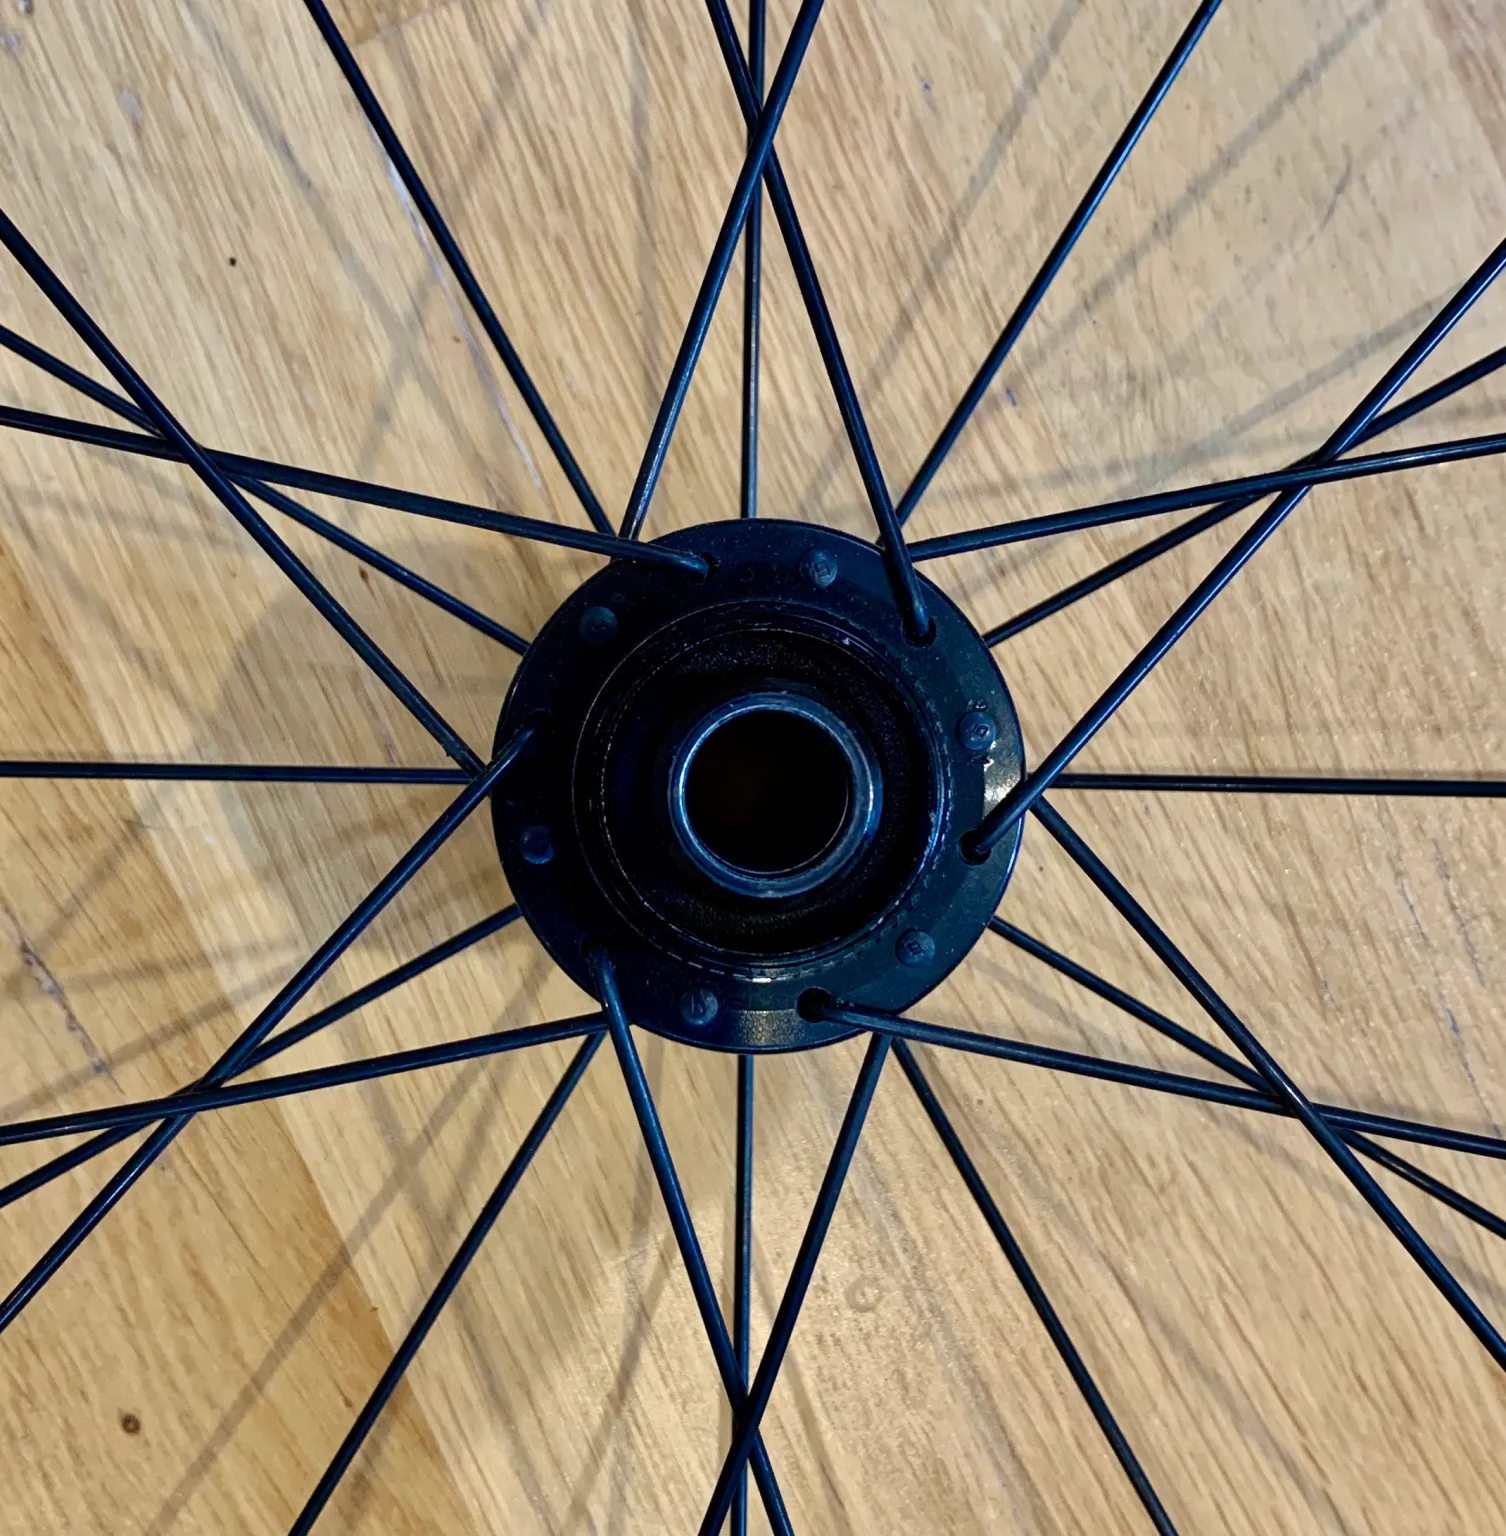
Close-up of a black bicycle wheel hub with evenly spaced spokes radiating outward against a wooden floor background.

See in picture ^

Park Tool BBT-9 bottom bracket tool with a large metal wrench head and a blue handle, designed for bicycle maintenance.
Centre Lock Ring

Internal Spine

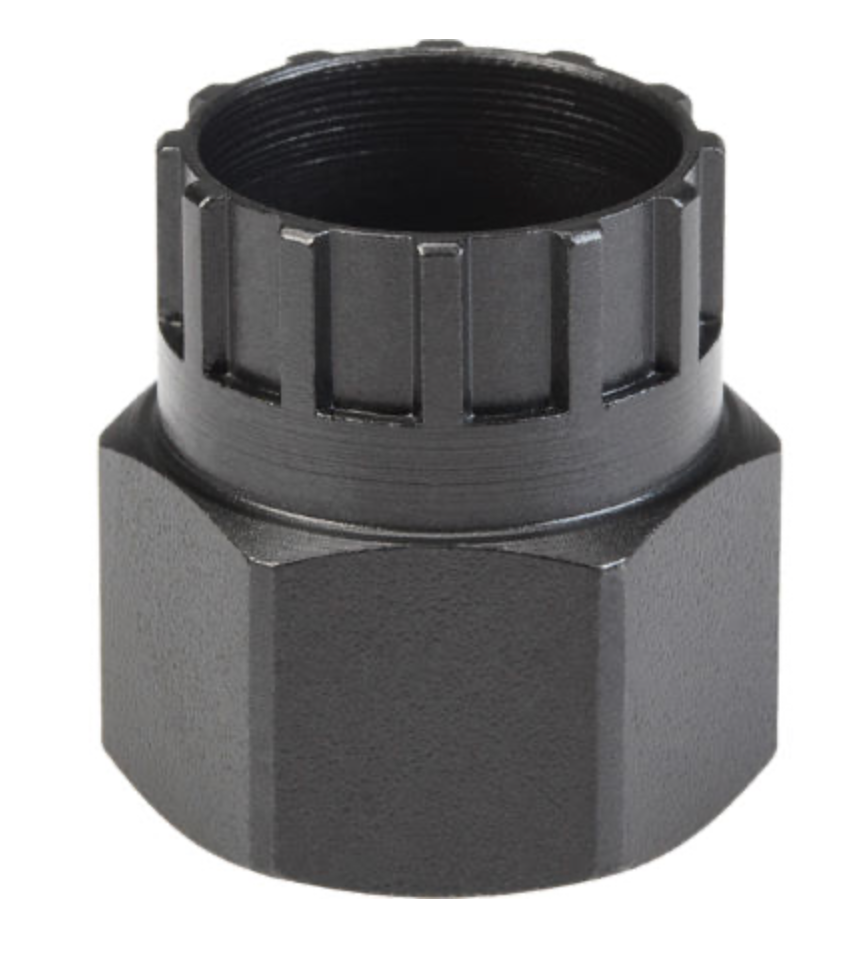
Black metal bicycle cassette lockring tool with a hexagonal base and splined top for bike cassette removal.
Tools needed:

Torque wrench + cassette locking tool (e.g. Park Tool TW-6.2 + FR-5.2, or an integrated cassette tool)

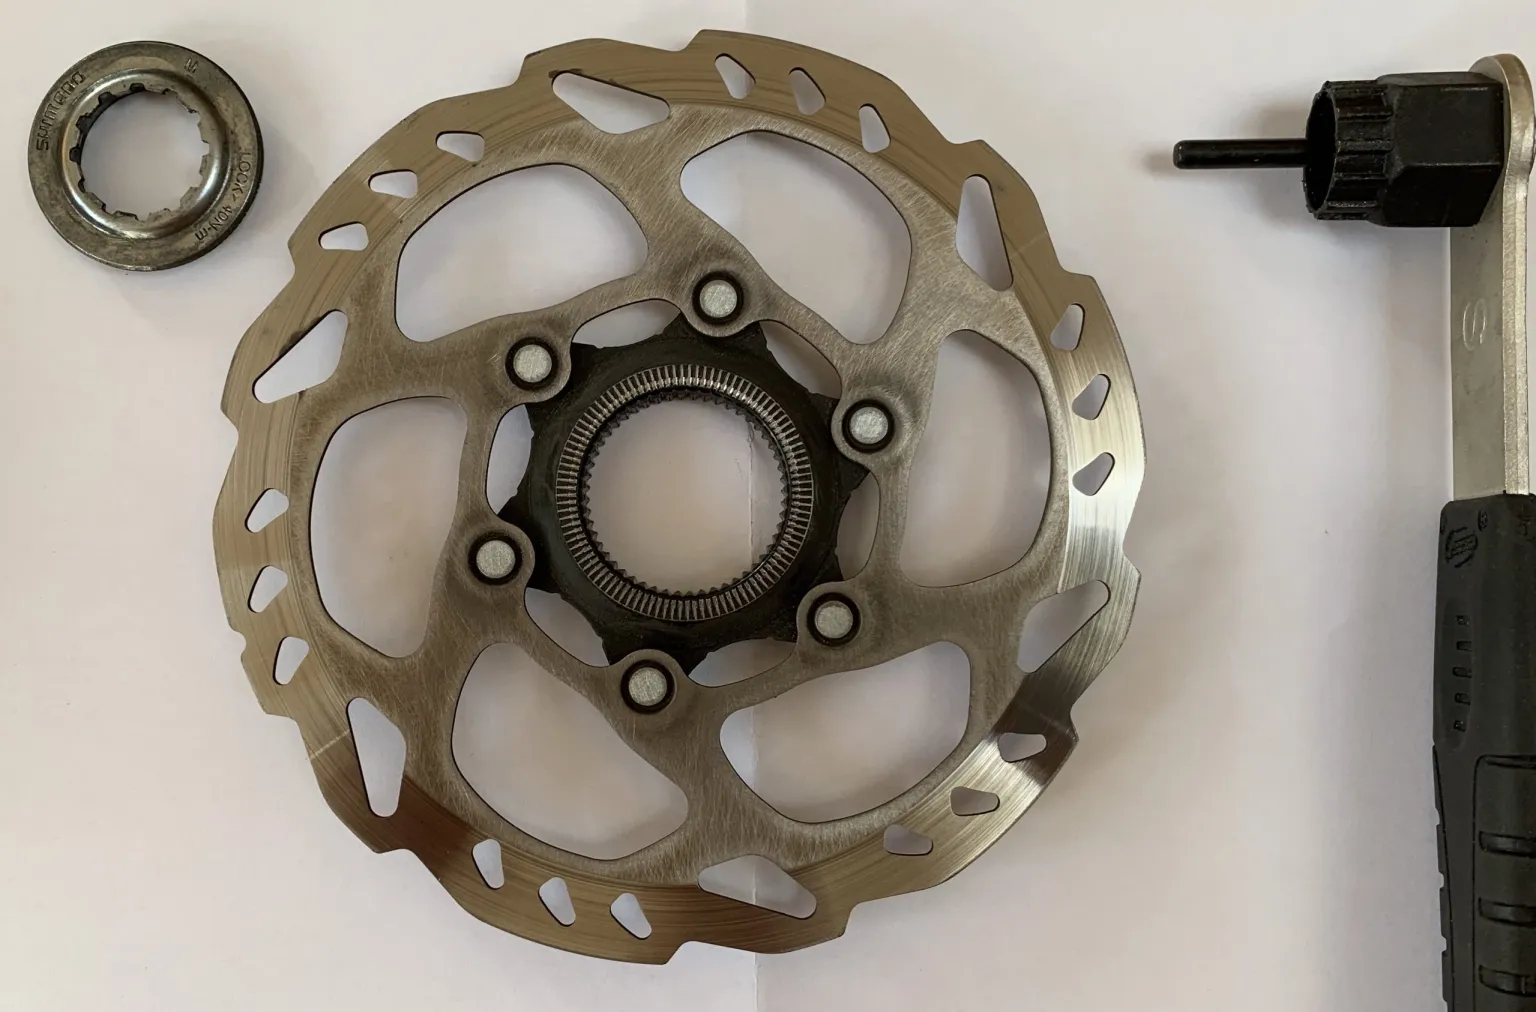
A bicycle disc brake rotor with a circular metal locking ring marked Shimano, and a black Shimano lockring tool with a silver handle on a white background.

Same process as above. This is the same tool used for cassette removal and replacement. If you're not using a torque wrench, make sure the rotor is tightened securely before you ride.

Your next cycling adventure starts here.

London Bike Box Hire - delivered to your door.